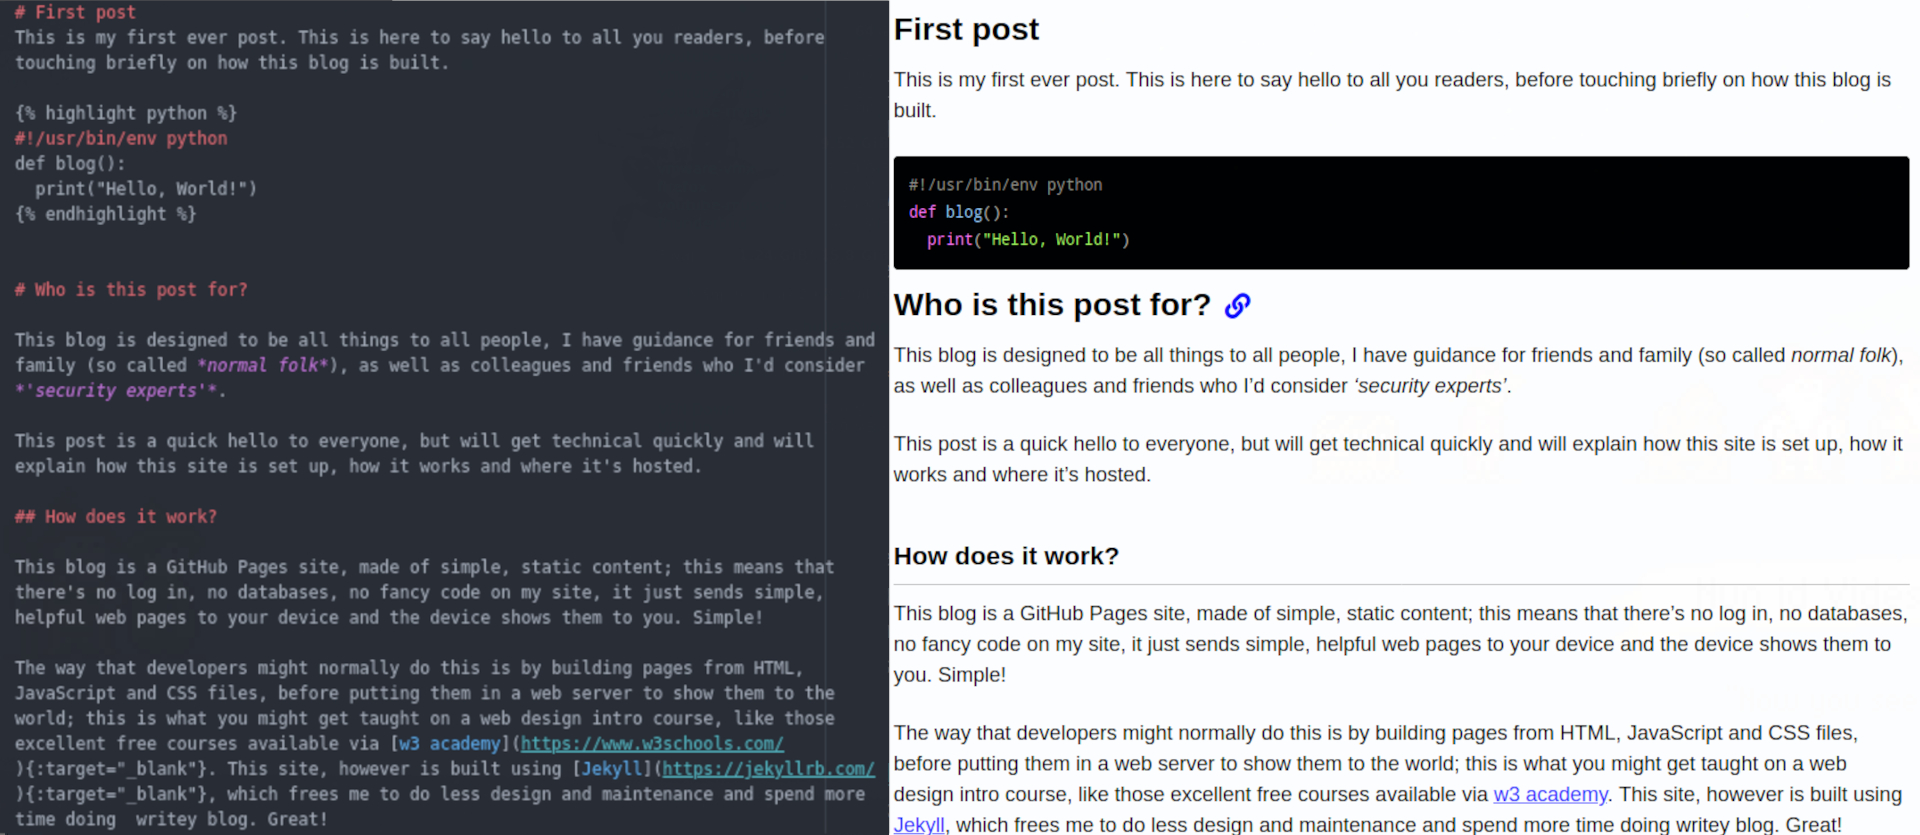
First post
This is my first ever post. This is here to say hello to all you readers, before touching briefly on how this blog is built.
#!/usr/bin/env python
def blog():
  print("Hello, World!")
Who is this post for?
This blog is designed to be all things to all people, I have guidance for friends and family (so called normal folk), as well as colleagues and friends who I’d consider ‘security experts’.
This post is a quick hello to everyone, but will get technical quickly and will explain how this site is set up, how it works and where it’s hosted.
How does it work?
This blog is a GitHub Pages site, made of simple, static content; this means that there’s no log in, no databases, no fancy code on my site, it just sends simple, helpful web pages to your device and the device shows them to you. Simple!
The way that developers might normally do this is by building pages from HTML, JavaScript and CSS files, before putting them in a web server to show them to the world; this is what you might get taught on a web design intro course, like those excellent free courses available via w3 academy. This site, however is built using Jekyll, which frees me to do less design and maintenance and spend more time doing writey blog. Great!
What’s Jekyll?
Jekyll is a framework for producing simple static websites; it’s written in ruby and lets creators like me quickly pull static sites together and produce content quickly. In addition, the fantastic Github will host your Jekyll site via GitHub pages, probably for free (depending who you are).
You said Framework, what’s that?
Frameworks influence the whole design process of software and that’s what Jekyll gives me for this blog. As a result of following Jekyll’s design philosophy, I get nudged to write in a certain way, then when I’m done, Jekyll does it’s stuff and turns my content in to good looking static content.
Does Jekyll do it all for you?
Well, no. Jekyll is great, it helps me write content in simple Markdown, making my life easier, but more ‘decoration’ is required to get a good looking site. This is where themes come in. Themes are baked into how Jekyll works and I’m using Michael Rose’s minimal mistakes theme.
There’s more still, though; as well as markup, Jekyll lets you write dynamic content, for example, listing all blog posts on a page, using liquid. This functionality is a little trickier than writing markdown posts, but you can get loads of information at the Jekyll site.
How can I do this?
Building a site with Jekyll, Minimal Mistakes and GitHub Pages has been a relatively easy and fun learning experience; if you’re ready to do the same, the following should summarise all the separate things you’ll need to learn and do.
Working to your theme
I’d recommend starting with an overview of Jekyll via their own documentation; don’t start yet though, before you get too bogged down think about picking a theme if you want one.
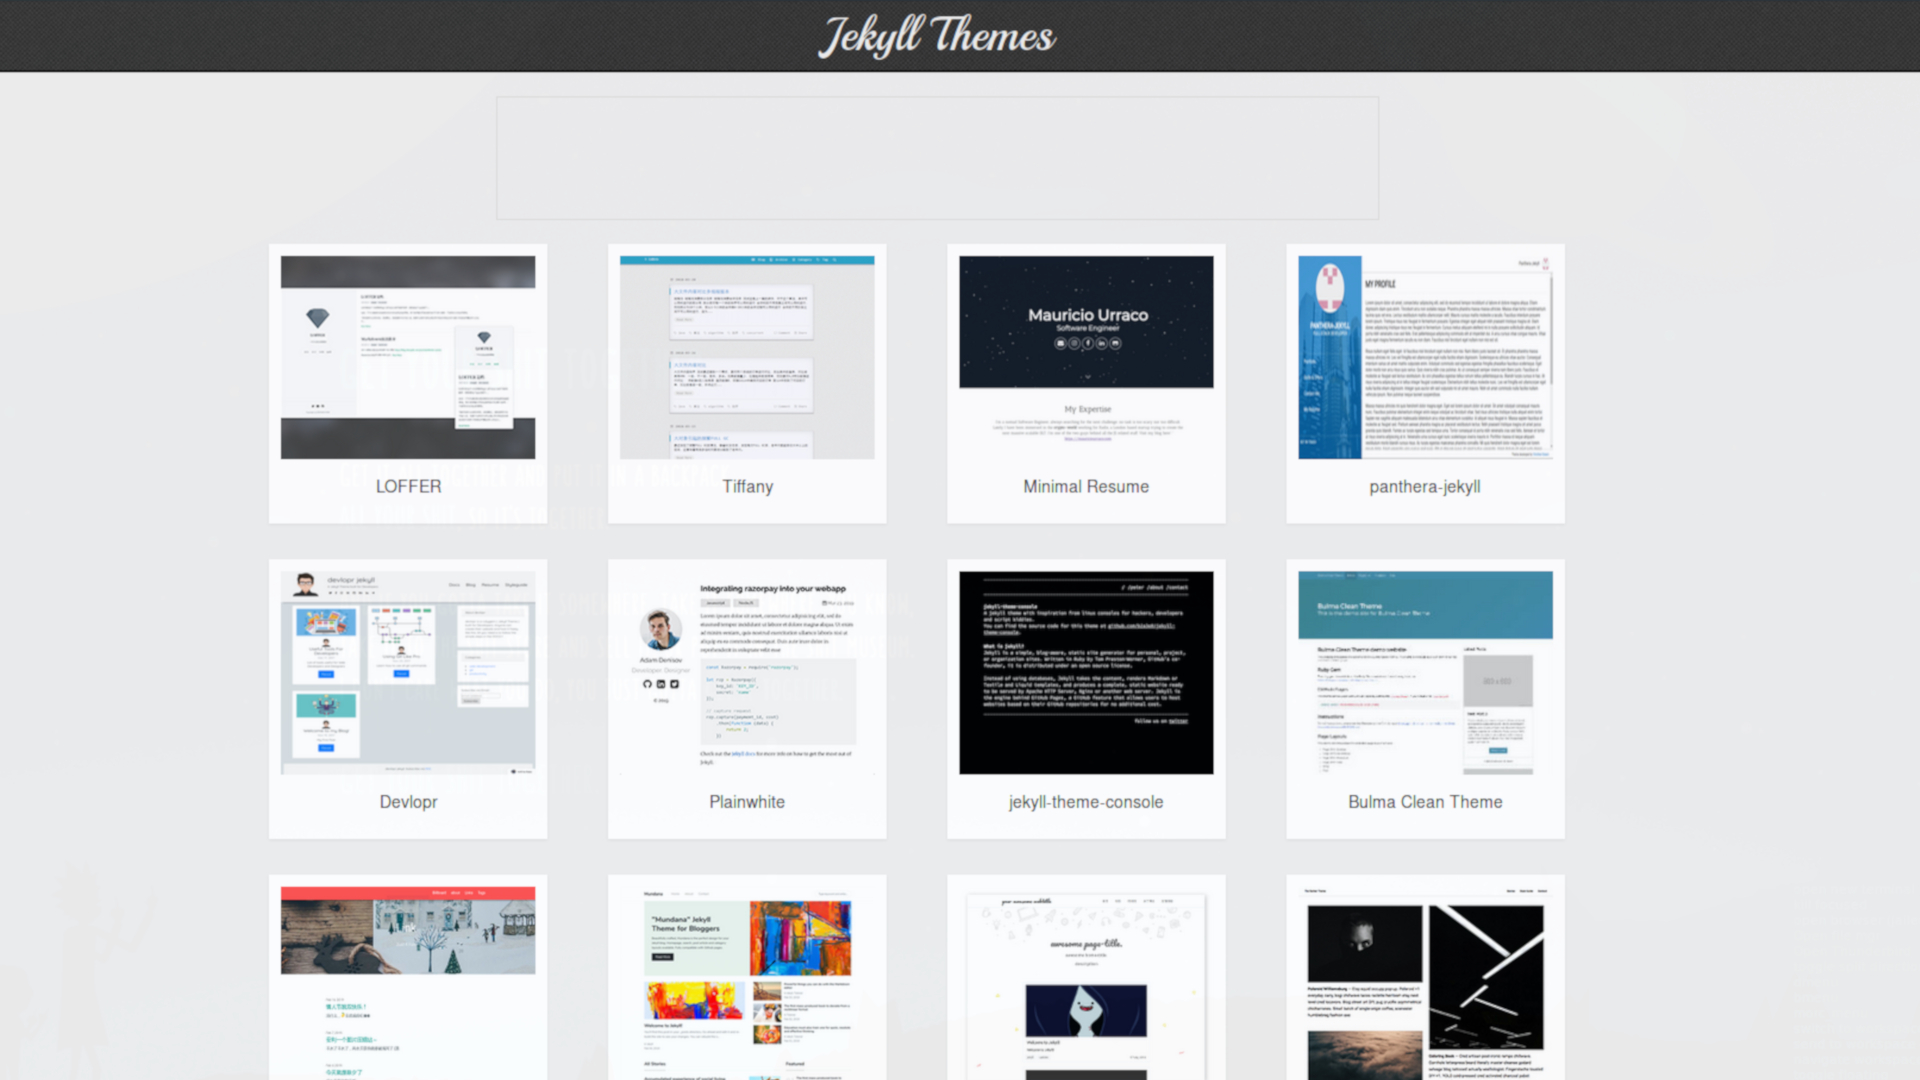
Now you’ve picked a theme, it’s time to read the documentation for that theme; this will add to your Jekyll knowledge and may actually affect the way you think about your site. If there are some base or default files for your theme, get them now these will invariably make your life a lot easier. Now you have a feel for your theme, it’s probably time to create your blog; Jekyll makes site creation incredibly easy.
Now think about your design and get writing some basic content; your mileage will vary heavily here depending on your theme, but I installed Jekyll to a local machine for this part of development to get the basic site together. To host on GitHub Pages, make sure you include your theme remotely, meaning you don’t download the theme to your machine, but include it in your Jekyll config file for loading at build time.
Configure all the relevant settings in your Jekyll config file; this will usually involve information about your site, you and how users will navigate. Once you’ve done this, create some pages in the ‘_pages’ directory; this is where permanent pages like ‘contacts’ or ‘about’ might live. Then you can create some articles in the ‘_posts’ directory; this is where all your created content is added and depending on your theme, this will be parsed and presented to your readers in different ways.
You should now have some content that looks pretty good when you host it locally using Jekyll.
Now host it!
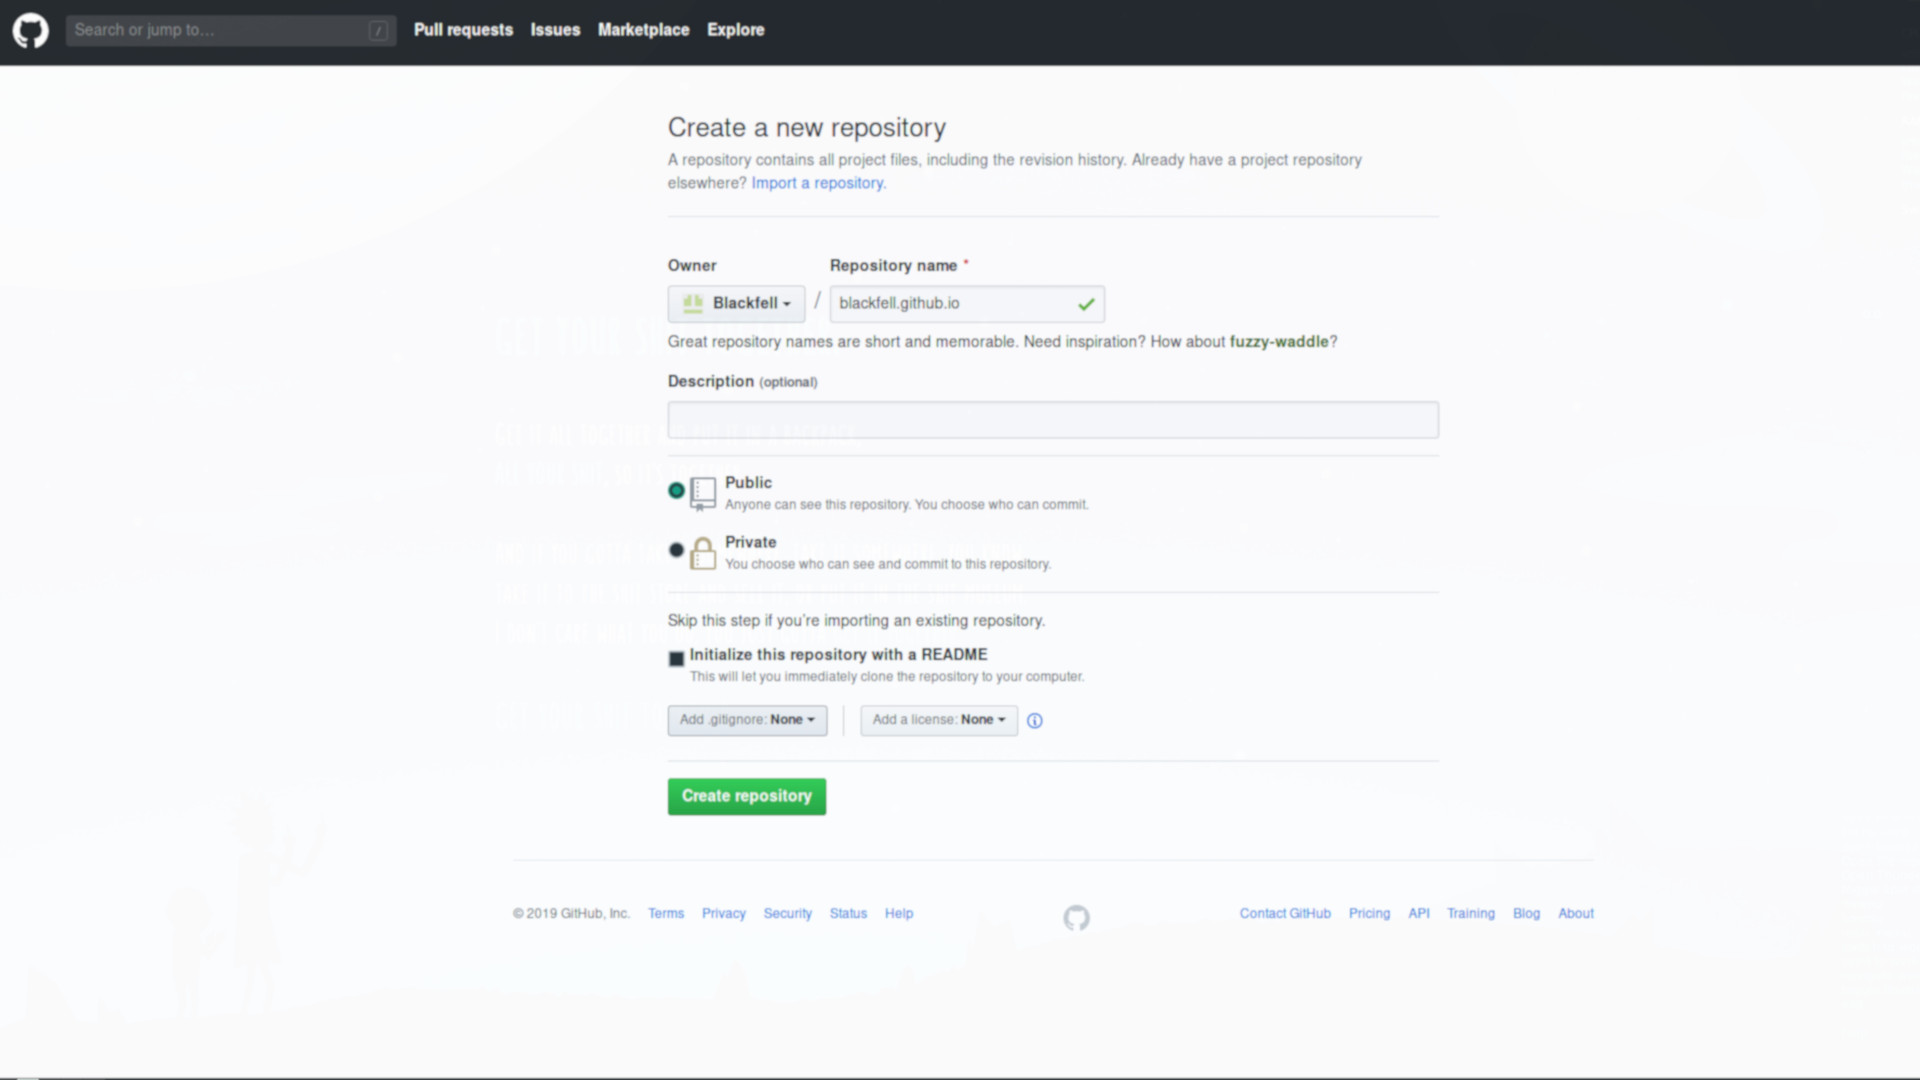
Now you’re ready to set your site up in GitHub Pages; there are benefits to doing this early - you’ll get up and running earlier - but you’re going all in and can’t practice locally. It’s up to you! Setting this up is really easy and all the guidance you’ll need is provided on the GitHub Pages how to page.
This will be a person/organisation site, project sites are linked to specific projects.
I create a repo called username.github.io via the GitHub web interface.
I use a terminal client for GitHub, so I can clone and push the repo back up to GitHub.
-
First lets clone the repo, before copying all of the locally produced files into the new folder. There’s no need to copy the “_site” directory created by Jekyll; remember, replace ‘blackfell’ for your own username.
git clone [email protected]:Blackfell/blackfell.github.io.git cp ./practice_directory/* ./blackfell.github.io/ cd ./blackfell.github.io/ rm -r ./_site/ git add -A git commit -am "First commit." -
Now let’s push our clean repo up to GitHub:
git push -u origin master -
Profit
The hacky fix for latest post links
My site is primarily a blog and I wanted a prominent link to my latest post on my homepage; the only problem is that my theme manages my header creation via Jekyll ‘front matter’. What this means is that the image and buttons generated by Jekyll on my homepage can’t really be generated ‘on-the-fly’, since front matter can’t contain liquid reliably.
I needed a fix for this and I found one, which you may find useful too; I managed this by simply embedding my most recent post in a permanently present page named ‘latest’. This page can be permanently linked to from my home banner and because its dynamically generated and contains the same objects as the post itself, the user experience should be seamless moving to other posts on the site.
I generated the following page using my favourite text editor:
---
permalink: "/latest/"
---

{% for post in site.posts limit:1 %}
  {{ post | replace: "<!doctype html>", "" | replace: 'class="masthead-class-name"', 'style="visibility:hidden; height:0px"'  }}
{% endfor %}
This page is very simple, the iterator is limited to one post, meaning that the ‘post’ variable then points to the most recent post object. This object is then piped into two replace operations, one to remove the doctype tag and one to hide the menu bar, since our default layout will render one of those for us. If you use this, you’ll need to find the name of the navigation bar class in the theme and substitute it there.
You can see the behaviour of the latest page here.
That’s it!
Your site is now gloriously live. Now go out in the world and profit!